This post is dedicated to my dear loyal canine, my little Brother, Toto; who shared my joy and sorrow for the past 8 years with me; and definitely more in time.
Initially, when the twins arrived, he wasn’t thrilled at all. These days, they love each other (Elli and Char’s point of view). Well, he lets them cuddle, pat, and is friendly with them most of the time; so I Guess he agrees with them too?
It all started when my tots were getting some shots taken for my Pineapple Frenzy collection. Dear Toto decided to join them.

And I thought he looked pretty lonely.. ( Elliott definitely sympathise with me here.) That’s when I decided, TOTO definitely needs some dressing up too! A shirt could be a little too much for the hot and humid weather in Singapore. I decided a bandana would be perfect!
TOTO Bandana Step By Step
TOTO Bandana Step By Step

Here’s what you’ll need:
2 pieces of contrasting fabric
A dog collar
2 buttons ( optional)
Measurements of bandana ( Small Size)
Sizes Chart for Dog Pattern 
Toto is small size ( He is a toy poodle). Above, is a photo for reference and a size chart; if you are planning to do one for your furry Friend.
Just in case,if the measurements a little confusing in the diagram; I’ve listed it down below:
Sizes: A x B x C (inches)
Extra Small: 1.5 x 10 x 5
Small: 2 x 12 x 8
Medium: 2 x 14 x 9
Large: 2 x 16 x 10
Extra Large: 2.5 x 18 x 12
You will need to cut 2 pieces of these in contrasting fabric of your choice.
Band Across Bandana ( optional)
Next, you will need to prepare 2 bands that will go across the Bandana front and back.
You will need 2 pieces of (7 x 2 inches) contrasting fabric. Fold it and press it ( iron down) like the photo above. You should end up with all your pieces like the photo shown below .
Preparation of Bandana and Band 
Here’s a Tip: After deciding on where to place my band, I placed one side (I.e Front above Back) above the other. This is to Ensure that the bands are placed at the same position on both individual pieces of fabric . Refer to photo below.
Pin band down on fabric when you have decided on the position. 
Once done, flip it to the wrong side 
Bend the band down in the following manner as shown in the photo above. Once done, draw a straight line with an air erasable marker; so that you have a mini right angle triangle. Cut along this purple line. 
Do this for both sides of the bandana. 
Once done, glue it down with a fabric glue. Do it for both pieces of fabric. Flip over, and your fabric should look like the photo shown below. 
Once glue is dry, sew the band down as shown in photo below.
Do this similarly for the other side of the bandana.
Adding Buttons ( optional)
I wanted my bandana to look matchy with my twins outfit; thus, the buttons. If you do want to add the buttons, here’s how:
First, mark 2 inches from the edge of your fabric. This would be where your buttons should be sewn. (Sewing too near the edge will cause some hindrance when you sew running stitches along the sides later.) 2 inches is the Optimal point away from the edge. 
You will end up similar like mine as shown above if you get all your steps right. Mine’s bursting with tropical goodness already don’t you think?
Sewing all the pieces together
You are a step closer to getting your bandana done. Wait for it…
Place wrong sides together and pin it down. Then, sew running stitches along the sides ( black arrows), pivoting when you reach the corner to sew the other direction. You should sew 1cm from side edge. For me, I like to line my fabric and use the footer as a guide. See photo below.
At Pivot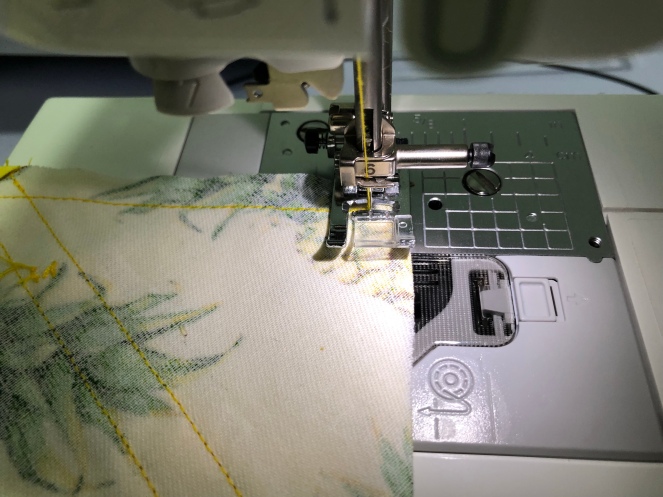
Once done, do a little cut as shown in photo below. Ensure you do not snip of the the running stitch. This cut is done so that you will get a nice pointy corner when you flip your fabric ( right sides) over.
Here’s a Tip: while flipping over, I like to use a ruler to aid me in folding down the edges of both fabric. It makes a nice edge and allows me to iron down in ease later. 
This is the tricky bit. You need to unpick 1 cm from the edge sewn down at both sides. Fold in towards wrong sides of fabric. Do it for both front and back of fabric. See photo shown below, for a better understanding.
Glue it down using fabric glue 
Next, fold the TOP edge 1.5cm down( double fold to prevent fraying of the fabric).
Sew running stitches. First, A stitch on individual fabric. Second, B stitch both fabrics together.
So here it is, put the dog collar through it and you have your very own bandana. Mine’s reversible, so I get 2 designs in one!

Toto looking smart in his new collar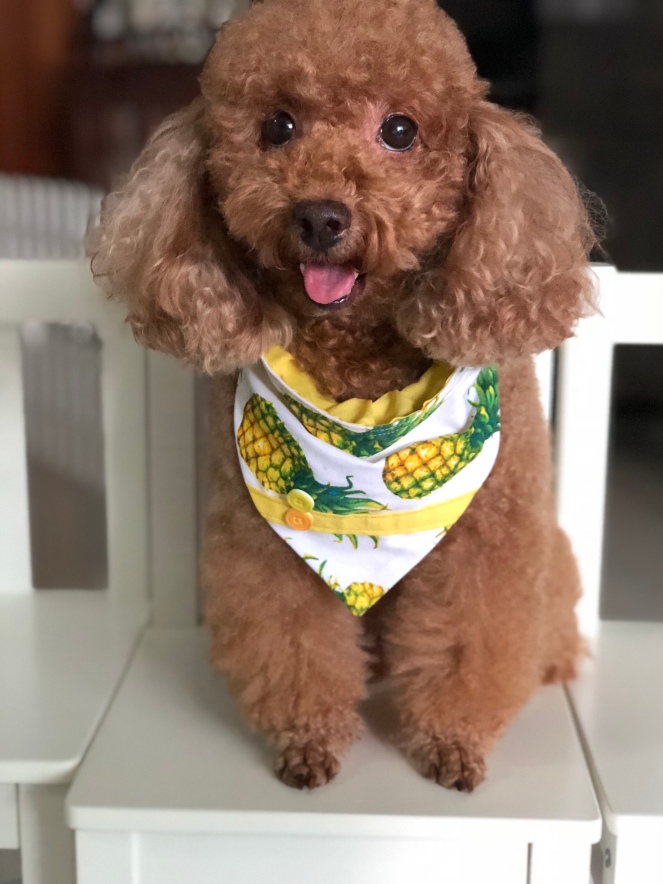
The Pineapple triplet! 

